
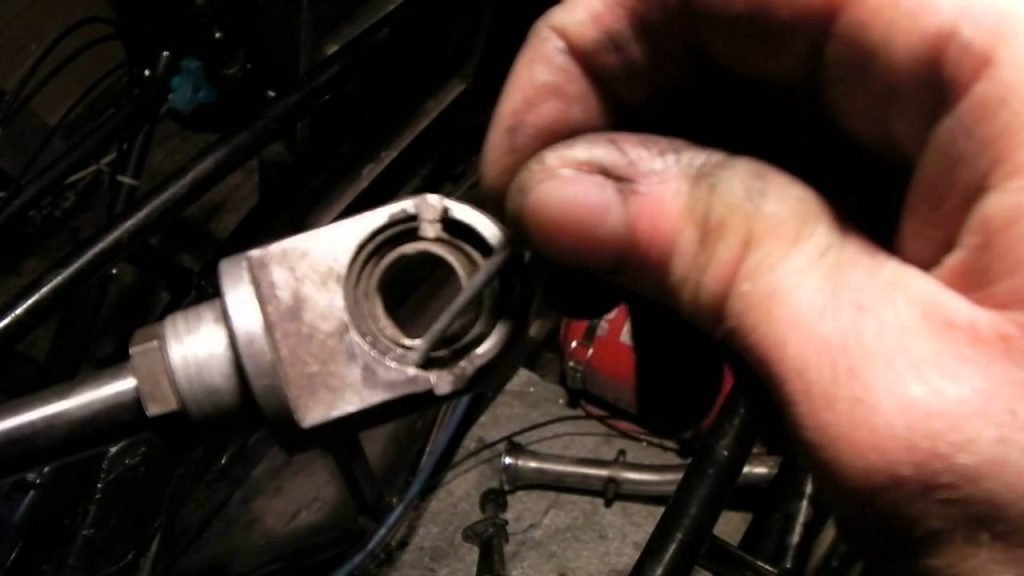
To remove a snap ring without pliers, use a flathead screwdriver to carefully pry it off. Alternatively, employ a pair of tweezers for better grip and control.
Snap rings serve a crucial role in securing components in various mechanical assemblies. Removing them can be tricky, especially without specialized tools like pliers. Many DIY enthusiasts encounter this challenge while working on automotive repairs, machinery, or home projects.
Understanding how to safely and effectively remove a snap ring can save time and prevent damage to surrounding parts.
This guide will explore different techniques to help you tackle this task with confidence. Whether you’re a seasoned mechanic or a novice, these methods will enable you to remove snap rings efficiently and safely.
Credit: www.youtube.com
Introduction To Snap Rings
Snap rings are essential components in many mechanical systems. They hold parts in place and ensure proper functioning. Understanding their use and removal is important for maintenance.
What Is A Snap Ring?
A snap ring is a type of fastener. It is usually made from steel or other durable materials. Snap rings come in various shapes and sizes.
- Internal snap rings: Fit inside a groove on a shaft.
- External snap rings: Fit around a shaft or housing.
They are designed to provide a secure hold. Snap rings can be removed and installed easily.
Common Uses Of Snap Rings
Snap rings are used in various applications. Here are some common uses:
| Application | Description |
|---|---|
| Automotive | Used in engines and transmissions. |
| Machinery | Holds gears and bearings in place. |
| Appliances | Secures components in washing machines. |
| Electronics | Used in devices like motors and fans. |
Snap rings are vital for stability in mechanical systems. They prevent parts from slipping or falling off.
The Importance Of Proper Removal
Removing a snap ring correctly is crucial. Improper methods can cause damage. This can lead to costly repairs or replacements. Understanding the right technique helps avoid issues.
Potential Damage From Incorrect Methods
Using wrong methods to remove snap rings can cause:
- Deformation of the snap ring.
- Damage to surrounding components.
- Increased wear on machinery.
- Safety hazards for the user.
Here’s a table showing possible damages:
| Method | Potential Damage |
|---|---|
| Using flat tools | Deformation of the snap ring |
| Improper leverage | Damage to nearby parts |
| Excessive force | Increased wear on machinery |
Safety Considerations
Safety should always come first during removal. Follow these tips:
- Wear safety goggles to protect your eyes.
- Use gloves to prevent injuries.
- Ensure the work area is clean and organized.
- Keep tools in good condition.
Always assess the snap ring before removal. Look for any signs of wear or damage. This helps ensure a safer removal process.
Preparation Steps
Removing a snap ring without pliers requires careful preparation. This ensures safety and effectiveness. Follow these steps to get started.
Gathering Alternative Tools
Find tools that can help you remove the snap ring. Here are some effective alternatives:
- Flathead screwdriver: Use it to pry the snap ring off.
- Needle-nose pliers: These can grip and pull the snap ring.
- Paperclip or wire: Bend it to create a small hook.
- Small hammer: Tap gently to loosen the snap ring.
Ensure the tools are in good condition. A sturdy tool makes the task easier.
Securing The Work Area
Preparing your workspace is essential. Follow these steps to secure your area:
- Choose a clean, flat surface.
- Use a cloth or mat to protect your tools.
- Clear away any clutter or distractions.
- Wear safety goggles to protect your eyes.
- Keep small parts organized in a container.
A well-secured workspace prevents accidents. It also helps you stay focused on the task.
Alternative Tool Options
Removing a snap ring without pliers can be tricky. Fortunately, several tools can help. Here are some effective alternatives to consider.
Improvised Snap Ring Removal Tools
- Screwdriver: Use a flathead screwdriver to pry open the ring.
- Paperclip: Bend a paperclip to create a hook for lifting.
- Hex Key: A small hex key can act as a lever.
- Wire: A sturdy wire can be shaped to grip the ring.
- Pliers Substitute: Other types of pliers can work in a pinch.
Pros And Cons Of Different Tools
| Tool | Pros | Cons |
|---|---|---|
| Screwdriver | Widely available, easy to use. | May scratch surrounding surfaces. |
| Paperclip | Flexible and adjustable shape. | Not very sturdy for tough rings. |
| Hex Key | Strong leverage, compact size. | Limited grip on small rings. |
| Wire | Customizable for various sizes. | Can bend or break under pressure. |
| Pliers Substitute | Provides better grip. | May not fit in tight spaces. |
Step-by-step Guide Without Pliers
Removing a snap ring can be tricky. You can do it without pliers. Follow this step-by-step guide to make it easy.
Positioning The Snap Ring
Start by finding the right spot for the snap ring. Here are the steps:
- Locate the snap ring on the shaft or housing.
- Look for the opening in the snap ring. This is key.
- Make sure the snap ring sits flat against the surface.
Applying Pressure Correctly
Now it’s time to apply pressure. Use your fingers or a flat tool.
- Use your thumb to push the snap ring inward.
- Keep pressure on the opening. This helps it pop out.
- Use a flathead screwdriver to gently pry it away.
Be careful not to scratch the surface. If it resists, adjust your angle and try again.
| Tools Needed | Steps |
|---|---|
| Fingers | Push the snap ring in. |
| Flathead Screwdriver | Pry the snap ring out carefully. |
Repeat the steps until the snap ring comes off. Always work slowly and carefully.
Tips For Stubborn Snap Rings
Removing stubborn snap rings can be tricky. These rings often seize up or rust, making them difficult to handle. Here are some effective methods to tackle these challenges.
Techniques For Seized Or Rusted Rings
Seized or rusted snap rings require special techniques. Follow these steps:
- Heat Application: Use a heat gun to warm the area. This can expand the metal and loosen the ring.
- Impact Technique: Tap around the snap ring gently. This vibration can help break rust bonds.
- Using a Flathead Screwdriver: Insert a flathead screwdriver under the snap ring. Twist it carefully to lift the ring.
- Cutting the Ring: As a last resort, use a Dremel tool. Cut the snap ring carefully to remove it.
When To Apply Lubricants
Applying lubricants can make removal easier. Here’s when and how to use them:
- Before Heating: Apply penetrating oil before using heat. This helps loosen any rust.
- After Tapping: If tapping doesn’t work, spray lubricant. Let it sit for a few minutes.
- Regular Maintenance: Use lubricants regularly on snap rings. This prevents rust and seizing.
Choose a high-quality penetrating oil for best results. Always follow safety guidelines when using tools and chemicals.
Troubleshooting Common Issues
Removing a snap ring without pliers can be tricky. Common issues can arise during this process. Understanding these problems helps you find solutions quickly.
Dealing With Limited Access Areas
Some snap rings are in tight spaces. Here are tips to tackle this issue:
- Use a Flathead Screwdriver: Insert it behind the snap ring. Gently pry it out.
- Employ a Hook Tool: A hook tool can grab and pull the ring.
- Try Needle-Nose Pliers: If you have them, they can fit into tight spots.
Adjusting For Snap Ring Size Variations
Snap rings come in different sizes. This can complicate removal. Here’s how to adjust:
- Measure the Diameter: Use calipers to find the ring size.
- Choose the Right Tool: Pick tools that match the ring size.
- Modify Your Technique: A smaller ring may require different angles.
Always ensure you have the right tools. This makes removing snap rings easier. Identify the specific challenge. Use the suggested methods for best results.
Credit: www.learnitaly.us
After Removal Care
Taking care of your snap ring after removal is important. Proper inspection and storage can extend its lifespan. Follow these steps for the best results.
Inspecting The Ring And Groove
After removing the snap ring, inspect it carefully. Look for signs of wear or damage. A damaged ring may not fit correctly. Here are some points to consider:
- Check for cracks or breaks in the ring.
- Look for scratches or dents on the surface.
- Inspect the groove where the ring sits.
Make sure the groove is clean. Dirt can affect the ring’s fit. Use a soft brush to remove debris. If the groove is damaged, it may need repair.
Storage And Maintenance Tips
Proper storage keeps your snap rings in good shape. Follow these tips:
- Store in a dry place: Moisture can cause rust.
- Avoid high temperatures: Heat can warp the ring.
- Use a container: Keep rings in a labeled box.
Regularly check your stored rings. Look for any signs of wear. Keep them away from sharp objects. This prevents accidental damage.
Frequently Asked Questions
- How Can I Remove A Snap Ring Easily?
Use a flathead screwdriver to carefully pry the ring off its groove.
- What Tools Can I Use Instead Of Pliers?
Try using a flathead screwdriver or a pick tool for effective removal.
- Is It Safe To Remove Snap Rings Without Pliers?
Yes, as long as you follow safety precautions and use the right tools.
- What Are The Risks Of Removing Snap Rings?
Improper removal can cause damage to the ring or surrounding components.
- Can I Replace Snap Rings After Removal?
Yes, replacement snap rings are readily available and easy to install.
Conclusion
Removing a snap ring without pliers is entirely possible with the right techniques. Whether using a screwdriver or a specialized tool, patience is key.
Always prioritize safety by wearing protective gear. Mastering this skill can save you time and effort in your projects.
Happy repairing, and remember to practice!