
Master torque control and variable speed to stop stripping screws and start drilling like a professional. This essential guide covers bit selection, battery management, and precision techniques that transform your results. Go from frustrating mistakes to clean, confident holes in minutes.
Key Takeaways
- Master bit changes: Learn to quickly swap bits using the keyless chuck for efficiency.
- Control speed precisely: Use the variable speed trigger for delicate work and low speed for high torque.
- Adjust torque settings: Match torque to material and screw size to prevent stripping.
- Manage battery life: Keep batteries charged and store them at proper temperature for longevity.
- Wear safety gear: Always protect eyes and ears when drilling or driving.
- Select correct bits: Use appropriate drill bits for wood, metal, masonry, or screws.
- Maintain proper stance: Apply steady pressure and keep the drill perpendicular for accurate holes.
Why This Matters / Understanding the Problem
I’ll never forget the first time I stripped a screw head. I was hanging a shelf in my living room, feeling proud of my DIY skills. My new cordless drill felt powerful in my hand. I pulled the trigger too hard, too fast. The screw spun uselessly in the drywall. My confidence shattered along with that anchor.
You’ve probably been there too. Maybe you’ve cracked a beautiful piece of wood because you used the wrong bit. Or perhaps you’ve spent hours on a simple project because your technique was off. These frustrations aren’t just annoying. They make DIY feel like a chore instead of the rewarding hobby it should be.
That’s exactly why learning to master how to use cordless drill like a professional today changes everything. You’ll save time. You’ll save money. Most importantly, you’ll finally get that “I made this!” feeling without the headaches. This guide isn’t about fancy jargon or overwhelming specs. It’s about practical, real-world skills you can use immediately.
What You Need
Before we dive in, let’s gather our gear. Don’t worry. You probably already own most of these items.
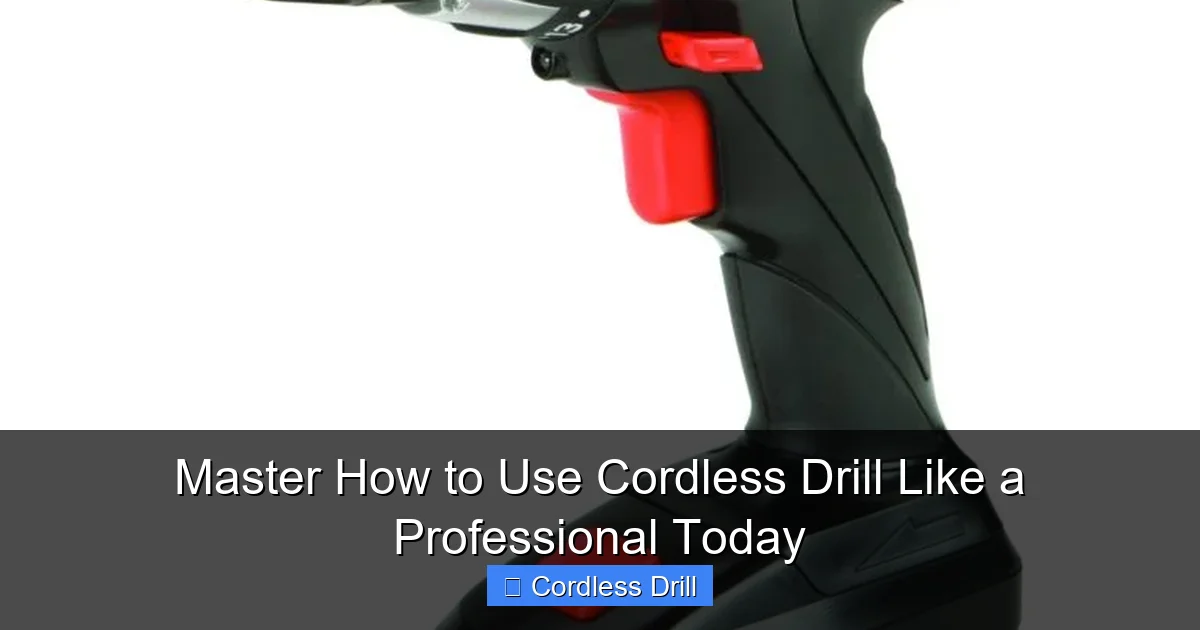
Visual guide about Master How to Use Cordless Drill Like a Professional Today
Image source: toolcraze.net
- A cordless drill (obviously!)
- Fresh battery or fully charged one
- Basic drill bit set (wood, metal, masonry)
- Assorted screwdriver bits (Phillips, flathead, square)
- Measuring tape or ruler
- Pencil or marker for marking spots
- Clamps to secure your workpiece
- Safety glasses (non-negotiable)
- Optional: stud finder for wall projects
If you’re in the market for a new drill, check out my guide on the best cordless drill options for every budget. But honestly, even an old 12V drill can work wonders if you know how to use it properly.
Step-by-Step Guide to Master How to Use Cordless Drill Like a Professional Today
Step 1: Choosing the Right Drill and Battery
Not all cordless drills are created equal. Your grandpa’s 1980s model won’t behave like today’s brushless wonders. But here’s the secret: technique matters more than tool quality.
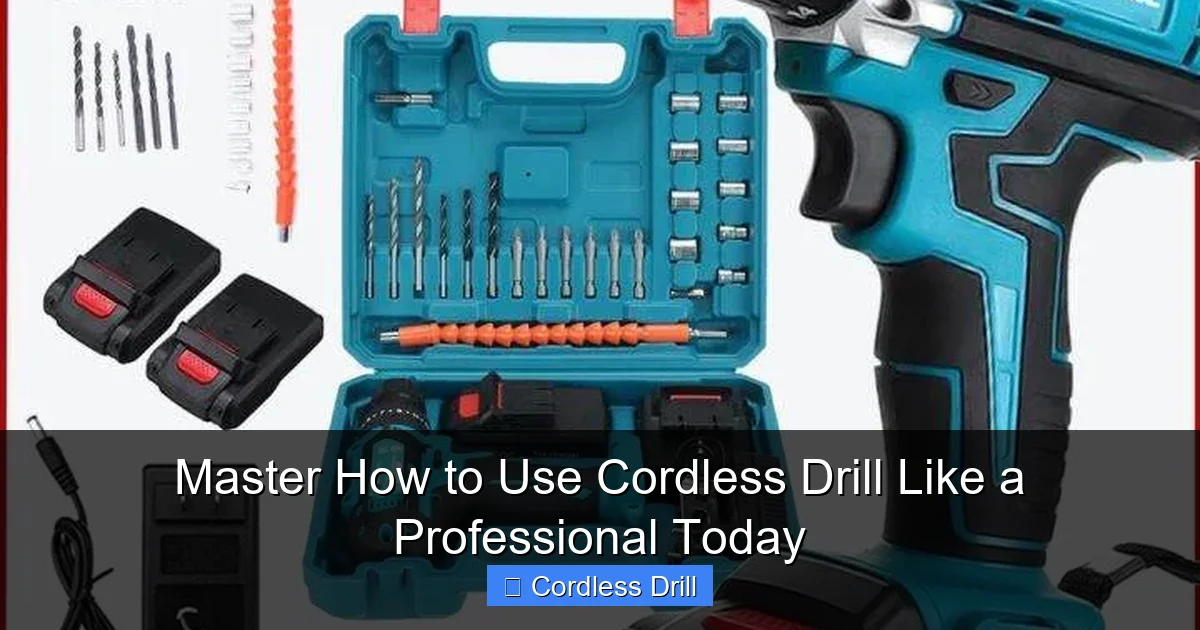
Visual guide about Master How to Use Cordless Drill Like a Professional Today
Image source: lzd-img-global.slatic.net
First, check your battery. A dying battery causes all sorts of problems. It makes your drill sluggish. It can’t maintain proper torque. I learned this the hard way during a deck-building project. I thought my drill was broken. Turns out, I just needed a fresh charge. Most modern drills have battery indicators. Use them.
For most DIY tasks, an 18V or 20V drill hits the sweet spot. It’s powerful without being overwhelming. If you’re doing light work, a 12V compact drill works great. It’s lighter and easier to control in tight spaces.
Step 2: Understanding Your Drill’s Settings and Features
Look at your drill’s collar. Those numbers aren’t just decoration. They’re torque settings. This is where beginners get confused. Let me break it down simply.
Low torque settings (1-5) are for driving small screws. High settings (15-20) are for big lag bolts. The drill automatically stops when the screw is tight. This prevents stripping. I wish someone had told me this years ago.
Your drill also has speed settings. The “1” side is low speed, high torque. Perfect for driving screws. The “2” side is high speed, low torque. Great for drilling holes. Some drills have a hammer function. That’s for masonry work only. Never use it on wood or metal.
Step 3: Selecting the Perfect Drill Bits
Using the wrong bit is like trying to cut steak with a butter knife. It just doesn’t work. Wood bits have a pointed tip and wide flutes. They grab and remove material efficiently. Metal bits are sharper with a 118-degree point angle. They cut clean holes without wandering.
Masonry bits look like metal bits with a special carbide tip. They’re designed for hammer drills. If you try to drill into concrete with a regular bit, you’ll ruin it. Trust me. I’ve melted my share of bits by using them wrong.
For driving screws, match your bit to the screw head. A #2 Phillips bit works for most screws. But those square-drive deck screws need a #2 Robertson bit. Using the wrong size causes cam-out. That’s when the bit slips out and strips the head.
Step 4: Preparing Your Workpiece and Marking
Measure twice. Drill once. This old carpenter’s rule exists for a reason. Use a pencil to mark your spot. A sharp awl or nail works even better. It creates a small indentation that keeps your bit from wandering.
Secure your workpiece. Always. I clamp boards to my workbench. For wall projects, I use a stud finder to locate framing. If you’re drilling into drywall, this comprehensive guide covers everything you need to know about anchors and techniques.
Pro tip: Place a piece of masking tape over your mark. It prevents splintering on the exit side. It also gives you a clear visual target.
Step 5: Mastering the Grip and Stance
Hold the drill like you’re shaking hands. Firm but not crushing. Your index finger controls the trigger. Your other hand supports the body. Keep your arms close to your body. This gives you maximum control.
Stand with your feet shoulder-width apart. Brace yourself. Imagine you’re about to throw a punch. You want stability, not tension. When drilling, apply steady pressure. Don’t force it. Let the drill do the work. I made this mistake constantly. I thought more pressure meant faster results. It just meant sore arms and crooked holes.
Step 6: Drilling Pilot Holes Like a Pro
Pilot holes are non-negotiable. They prevent splitting. They guide your screw. They make your project look professional. Here’s how to drill them perfectly.
Choose a bit slightly smaller than your screw’s core diameter. For a #8 screw, I use a 3/32″ bit. Drill straight down at medium speed. Keep the drill level. Watch your depth. You want the hole just deep enough for the screw threads to bite.
For depth control, wrap tape around your bit at the right spot. Or use the drill’s depth stop if it has one. This takes practice. Start with scrap wood. Drill several holes. Then insert screws to see how they sit.
Step 7: Driving Screws with Precision
This is where most people go wrong. They push too hard. They use the wrong speed. They don’t pay attention to torque. Let’s fix that.
Start with the torque setting low. Increase it only if the screw won’t seat. Set your drill to low speed (the “1” setting). Place the bit in the screw head. Apply light pressure. Pull the trigger gently. As the screw catches, you can increase pressure slightly.
Stop when the screw is flush or just below the surface. The drill will click when it reaches the set torque. That click is your signal to stop. If you keep going, you strip the head. I’ve done this. It’s frustrating and time-consuming to fix.
Step 8: Drilling Into Tough Materials
Metal and tile need special techniques. For metal, use a center punch to make a dimple. This keeps the bit from skating across the surface. Apply cutting oil for thick steel. Drill at slow speed with steady pressure.
Tile requires a steady hand. Start at a 45-degree angle to make a groove. Then go perpendicular. Use a tile bit or diamond-tipped bit. Go slow. Let the bit cool between holes. Otherwise, you’ll crack the tile.
For concrete or brick, you need a hammer drill. A regular cordless drill won’t cut it. If you don’t own a hammer drill, rent one. Trying to force a regular drill into masonry just burns out the motor. I learned this after replacing two drills in one summer.
Pro Tips & Common Mistakes to Avoid
Let me save you some headaches with lessons from my own tool graveyard.
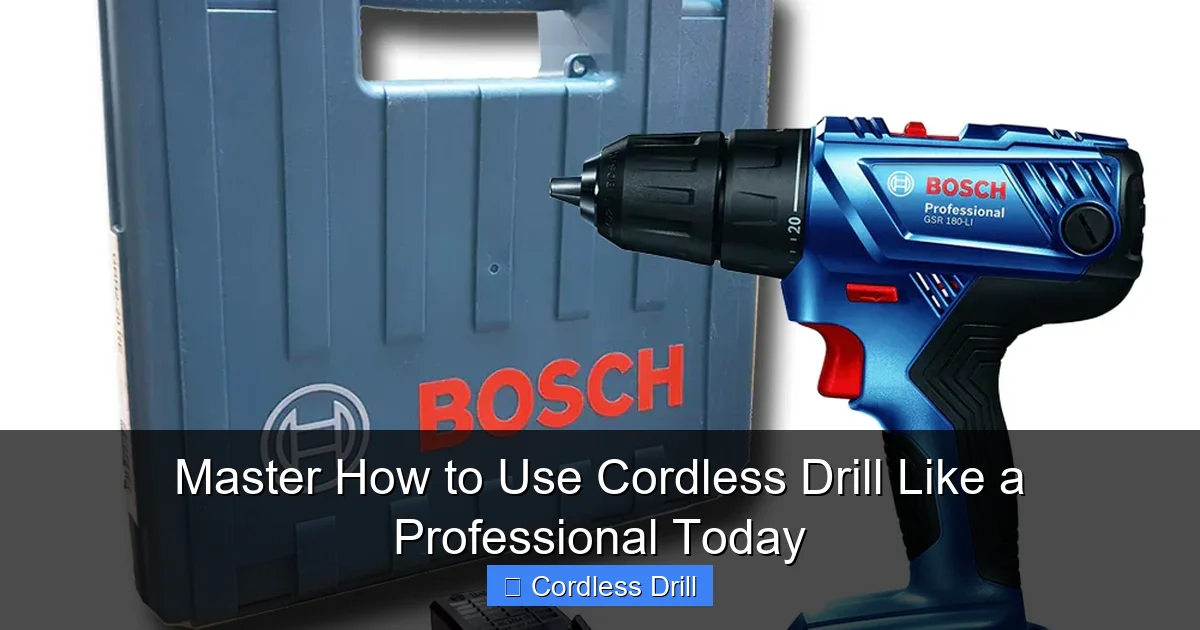
Visual guide about Master How to Use Cordless Drill Like a Professional Today
Image source: cdn.shopify.com
Warning: Never change bits with the battery in the drill. I’ve seen too many people get hurt this way. Always remove the battery first. It’s a simple habit that prevents serious injury.
Keep your bits organized. A fishing tackle box works perfectly. Label the compartments. This saves so much time on projects. You won’t be digging through a junk drawer looking for the right size.
Batteries last longer when you store them cool and dry. Don’t leave them in a hot garage. Don’t drain them completely before charging. Modern lithium-ion batteries prefer partial discharges. I keep two batteries. One charges while I use the other. This is a game-changer for big projects.
Avoid the “full speed always” trap. Many beginners think faster is better. It’s not. Controlled, deliberate movements produce better results. Your projects will look cleaner. Your bits will last longer. Your drill won’t overheat.
Clean your drill regularly. Sawdust and debris clog vents. This causes overheating. A quick blast of compressed air keeps it running cool. I do this monthly during project season.
When working overhead, use a right-angle adapter. This gives you better control. It also prevents screws from falling into your eyes. Safety first, always.
If you’re doing automotive work, an impact wrench might serve you better for lug nuts. But for most drilling and driving, your cordless drill is the right tool.
FAQs About Master How to Use Cordless Drill Like a Professional Today
Q: How long should a cordless drill battery last?
A: With proper care, 3-5 years. Avoid extreme temperatures. Don’t leave it on the charger constantly. Store at 50% charge if you won’t use it for months.
Q: Can I use my cordless drill to remove stripped screws?
A: Yes, with the right technique. Use a left-handed drill bit. Set your drill to reverse. Sometimes they catch and back out. For really bad cases, you’ll need a screw extractor kit.
Q: What’s the difference between a drill and an impact driver?
A: An impact driver delivers rotational blows. This makes it better for driving long screws and lag bolts. Your drill is more versatile for drilling holes and light driving. I use both. They complement each other perfectly.
Q: How do I know which torque setting to use?
A: Start low. Test on scrap material. Increase until the screw seats properly. Soft wood needs lower torque than hard wood. Drywall needs the lowest setting of all.
Q: My drill keeps overheating. What’s wrong?
A: You’re pushing too hard or using too high a speed for the material. Let the tool work for you. Take breaks during extended use. Check that vents aren’t blocked by dust.
Q: Can I drill into glass with a regular drill?
A: Not easily. You need a diamond-tipped bit and go extremely slow with light pressure. Even then, it’s risky. Specialty glass drill bits work better.
Q: Should I lubricate drill bits?
A: For metal, yes. Use cutting oil. For wood, no. For masonry, the carbide tip doesn’t need lubrication. Using oil on wood bits can make them slip in the chuck.
🎥 Related Video: How to Use a Cordless Drill FOR BEGINNERS!
📺 Reluctant DIYers
Not sure what all of the knobs and switches on your drill do or how in the world you operate this thing? In this video, I break down …
Final Thoughts
Mastering how to use cordless drill like a professional today isn’t about buying the most expensive tool. It’s about understanding the fundamentals. It’s about respecting the tool and using it with intention.
Start with these steps on your next small project. Practice on scrap wood first. Get comfortable with the settings. Feel how the drill responds to different pressures. Within a few projects, you’ll notice a huge difference. Your work will look cleaner. You’ll finish faster. Most importantly, you’ll enjoy the process.
Remember, every professional was once a beginner. They just practiced the basics until they became habits. That’s all we’re doing here. So grab your drill, charge that battery, and give it a try. Your future DIY self will thank you.
