
This guide provides a complete walkthrough on using a cordless drill, from basic setup to advanced techniques. You’ll learn how to safely operate the drill for various tasks like drilling into wood, metal, and walls, as well as driving screws. With practical tips and troubleshooting advice, you’ll gain confidence for all your home improvement projects.
Key Takeaways
- Understand Your Tool: Familiarize yourself with key parts like the chuck, clutch, battery, and trigger to operate the cordless drill effectively and safely.
- Prioritize Safety: Always wear safety goggles, secure your workpiece, and use sharp bits to prevent injuries and ensure accurate results.
- Choose the Right Bit: Select appropriate drill bits for specific materials—twist bits for wood, masonry bits for concrete, etc.—to avoid damage and achieve clean holes.
- Master Speed and Torque Settings: Use lower speeds for driving screws to prevent stripping, and higher speeds for drilling holes to maintain efficiency and control.
- Apply Proper Technique: Hold the drill firmly, keep it perpendicular to the surface, and apply steady pressure without forcing it to extend tool life and improve accuracy.
- Maintain Your Drill: Regularly charge the battery, clean the chuck, and store it in a dry place to ensure longevity and reliable performance for years.
Your Ultimate Guide to How to Use a Cordless Drill
Welcome to your ultimate guide on how to use a cordless drill! Whether you’re a DIY newbie or looking to brush up on skills, this tool is a game-changer for home projects. A cordless drill is versatile, portable, and perfect for tasks like hanging shelves, assembling furniture, or even light construction. In this guide, you’ll learn everything from unboxing your drill to mastering advanced techniques. We’ll cover safety, step-by-step instructions, and pro tips. By the end, you’ll handle your cordless drill with confidence. Let’s dive in and unlock its full potential!
Getting to Know Your Cordless Drill
Before you start drilling, it’s crucial to understand the parts of your cordless drill. This knowledge helps you use it safely and efficiently. Most cordless drills have similar components. First, the chuck is the front part that holds the drill bit. It can be keyless, meaning you twist it by hand, or keyed, requiring a special key. Next, the clutch adjusts torque for driving screws without damaging them. The battery powers the drill—usually lithium-ion for long life. The trigger controls speed: pull lightly for slow, fully for fast. The forward/reverse switch changes direction for drilling or removing screws. Finally, the handle provides grip, often with a comfortable design. Take a moment to inspect your drill. If you’re choosing a new one, our guide on the best cordless drill can help you pick the right model. Knowing these parts sets the foundation for all the steps ahead.
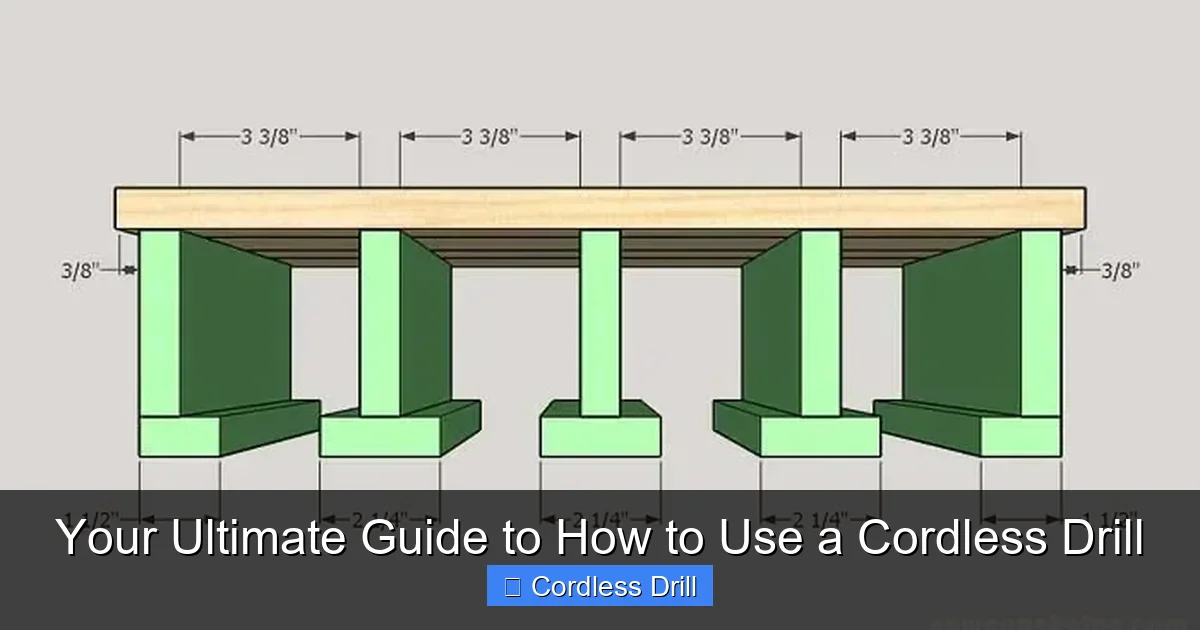
Visual guide about Your Ultimate Guide to How to Use a Cordless Drill
Image source: i1.wp.com
Safety Precautions Before You Start
Safety always comes first when using power tools. A cordless drill might seem harmless, but it can cause injuries if misused. Start by wearing safety goggles to protect your eyes from debris. If you’re drilling overhead or in dusty areas, a mask is wise. Secure your workpiece with clamps or a vise so it doesn’t move. This prevents slips and ensures precision. Check your surroundings: keep cords, pets, and children away. Use sharp drill bits—dull bits can slip and cause accidents. Always remove the battery when changing bits or not in use. If you’re working on a ladder, ensure it’s stable. For more on ladder safety, see our article on what are the steps to use ladders safely. Remember, a safe workspace leads to better results and peace of mind.
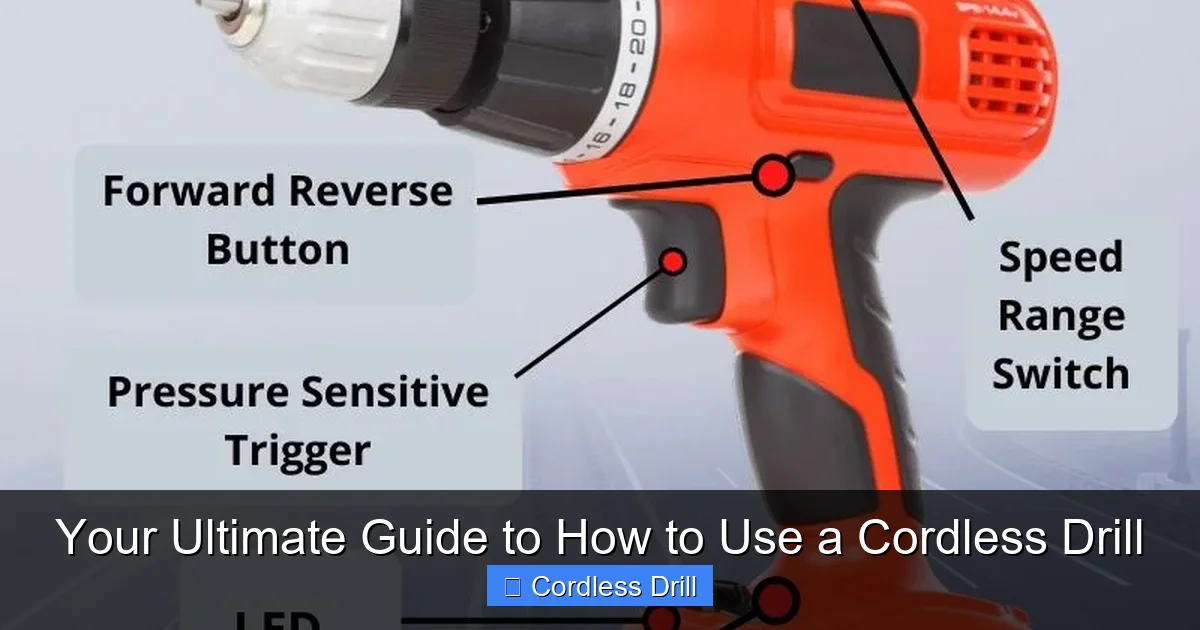
Visual guide about Your Ultimate Guide to How to Use a Cordless Drill
Image source: toolsmirror.com
Step 1: Charging and Installing the Battery
Your cordless drill won’t work without a charged battery. Start by plugging the charger into an outlet. Most modern drills use lithium-ion batteries that charge quickly. Insert the battery into the charger—it usually clicks into place. A light indicator shows charging status: red for charging, green for full. A full charge might take 1-2 hours. Once charged, remove the battery and slide it into the drill’s handle until it locks. You should hear a click. If the battery feels loose, check the alignment. Always keep a spare battery handy for long projects. Pro tip: Store batteries in a cool, dry place to extend their life. Avoid leaving them on the charger overnight to prevent overcharging. Now, with power ready, you’re set to move on.

Visual guide about Your Ultimate Guide to How to Use a Cordless Drill
Image source: contentgrid.homedepot-static.com
Step 2: Selecting and Installing the Right Bit
Choosing the correct bit is key for any task. For drilling holes, use drill bits. Common types include twist bits for wood, masonry bits for concrete, and step bits for metal. For driving screws, use driver bits like Phillips or flathead. Match the bit size to your screw or hole needs. To install a bit, first, ensure the drill is off and battery is secure. Open the chuck by twisting it counterclockwise. If it’s keyless, use your hand; if keyed, insert the key and turn. Insert the bit shank into the chuck, making sure it’s centered. Tighten the chuck by twisting clockwise until the bit is firmly held. Give it a gentle tug to check security. A loose bit can slip and cause damage. For specialized tasks like cutting, you might use other tools; for example, learn about how to use a reciprocating saw for heavy-duty cutting. With the bit installed, you’re ready to adjust settings.
Step 3: Understanding Drill Settings: Clutch, Speed, and Direction
Modern cordless drills have settings that give you control. First, the clutch adjusts torque—the twisting force. It’s numbered, usually from 1 to 20+. Use lower settings (1-5) for delicate tasks like driving small screws into soft wood. Higher settings (10+) are for tough materials or larger screws. The clutch prevents over-tightening and stripping screws. Next, speed is controlled by the trigger. Most drills have two speed ranges: low (0-500 RPM) for high torque like driving, and high (500-2000 RPM) for fast drilling. Use low speed for precision, high for efficiency. Finally, the forward/reverse switch. Set it to forward (often marked with an arrow) for drilling or driving in. Reverse (arrow the other way) removes screws or backs out bits. Practice switching these settings on scrap wood to get a feel. Mastering these makes your work smoother and more professional.
Step 4: How to Drill a Hole
Drilling holes is a core function of your cordless drill. Follow these steps for success. First, mark your drilling spot with a pencil or punch for accuracy. Secure the workpiece as mentioned earlier. Set the drill to forward direction. Choose the right speed: high for soft materials, low for hard ones. Hold the drill with both hands—one on the handle, one on the auxiliary grip if available. Position the bit tip on the mark. Keep the drill perpendicular to the surface for straight holes. Tilted holes can weaken your project. Start slowly by pulling the trigger gently. Apply steady, light pressure—let the bit do the work. Don’t force it; this can break bits or damage the drill. As you drill, you might need to clear debris by pulling out occasionally. For deep holes, go slow to prevent overheating. Now, let’s break it down by material.
Drilling into Wood
Wood is common for DIY projects. Use sharp twist bits. Start with a pilot hole for large screws to prevent splitting. Set the clutch to a high number or drill mode. Use high speed for softwoods like pine, medium for hardwoods like oak. Apply consistent pressure. If drilling through, place a scrap board underneath to prevent tear-out on the back side.
Drilling into Metal
Metal requires more care. Use high-speed steel (HSS) bits. Start with a center punch to mark the spot. Use cutting fluid or oil to lubricate and cool the bit. Set the drill to low speed to avoid overheating. Apply firm but gentle pressure. Metal shavings can be sharp, so wear gloves and clear them often.
Drilling into Masonry
For walls, brick, or concrete, use masonry bits with a carbide tip. A hammer drill function helps if your drill has it—it adds a pounding action. Set to hammer mode if available. Use low speed and high pressure. Drill in short bursts to prevent bit wear. For detailed steps on wall drilling, refer to our guide on how to use a drill for screws into a wall. Always check for wires or pipes behind walls first.
Step 5: How to Drive Screws
Driving screws is where the clutch shines. Start by selecting the correct driver bit that matches the screw head. Install it in the chuck. Set the drill to forward direction. Adjust the clutch to a low setting, say 3-5, for small screws. This prevents over-driving. Place the screw on the bit—some bits have magnetic tips to hold screws. Position the screw on your mark. Hold the drill straight. Pull the trigger slowly to start the screw. Once it’s engaged, increase speed slightly. Let the clutch disengage when the screw is tight; you’ll hear a clicking sound. If the screw isn’t tight enough, increase the clutch setting. For removing screws, switch to reverse and use a steady pull. Pro tip: Pre-drill pilot holes for large screws to make driving easier and prevent splitting. Practice on scrap wood to get the feel. Driving screws efficiently saves time and effort in projects like furniture assembly.
Step 6: Advanced Techniques and Accessories
Once you’ve mastered basics, try advanced techniques. Your cordless drill can do more! For example, use a hole saw attachment for cutting large holes in wood or drywall. Install it like a regular bit, use low speed, and apply light pressure. You can also use a wire brush attachment for cleaning rust or a mixing paddle for paint or mortar—set to low speed and stir slowly. Another pro tip: use the drill as a power screwdriver for repetitive tasks, adjusting the clutch for consistency. If you need to drive large lag bolts or work on automotive tasks, an impact wrench might be better; learn more in our article on how to use an impact wrench. Always use the right accessory for the job to avoid damaging your drill. Experiment safely to expand your skills.
Troubleshooting Common Cordless Drill Issues
Even with care, issues can arise. Here’s how to fix common problems. If the drill won’t start, check the battery—recharge or replace it. Ensure the battery is properly installed. If the bit slips in the chuck, tighten it more or clean the chuck jaws of debris. For overheating, let the drill cool down and use lower speeds. If the drill struggles with tough materials, check the bit—it might be dull or wrong type. Sharpen or replace it. For stripped screws, use a screw extractor bit or plyers. If the clutch isn’t working, ensure it’s not set to drill mode (often marked with a drill icon). Regular maintenance, like cleaning and lubricating the chuck, prevents many issues. Store your drill in a case or dry shelf. Troubleshooting keeps your tool in top shape.
Conclusion
Congratulations! You’ve completed the ultimate guide on how to use a cordless drill. From safety to advanced techniques, you now have the knowledge to tackle any project. Remember, practice makes perfect. Start with simple tasks like drilling holes in scrap wood or driving screws into soft materials. As you gain confidence, move on to more complex jobs. Your cordless drill is a versatile partner for home repairs, crafts, and renovations. Keep it maintained, charge the batteries, and always prioritize safety. With this guide, you’re equipped to use your cordless drill efficiently and safely. Happy drilling!
🎥 Related Video: How to PROPERLY use a drill (including what the numbers mean)
📺 Dad Advice From Bo
How to use a drill / beginner drill basics. Love, Dad.
