
This guide reveals the critical saw blade safety checklist every woodworker must follow before firing up their saw. Discover simple steps to inspect blades, verify proper mounting, and ensure guards work correctly. Skipping these checks risks serious injury – make them non-negotiable for every project.
Key Takeaways
- Inspect visually first: Look for cracks, missing teeth, or warping before touching the blade. A damaged blade can shatter at high speed.
- Verify secure mounting: Wobbling blades cause kickback. Always check arbor nut tightness and blade alignment after installation.
- Match blade to material: Using the wrong blade (e.g., wood blade on metal) overheats and damages both blade and workpiece.
- Test safety guards: Ensure riving knives, blade guards, and anti-kickback pawls move freely and retract properly during cuts.
- Listen for warning signs: Burning smells, excessive vibration, or unusual noises mean STOP immediately – don’t force the cut.
- Store blades safely: Hang or sheath blades to prevent accidental contact and protect teeth from damage.
Why This Saw Blade Safety Checklist Could Save Your Fingers (or Worse)
That buzzing sound as your saw powers up? It’s exciting! But before you make that first cut, pause. Seriously. Did you check your blade? Most workshop accidents happen because of skipped safety steps – especially with blades. A cracked carbide tooth or loose arbor nut can turn your project into a trip to the ER. This isn’t about slowing you down; it’s about keeping you in the workshop tomorrow. In just 2 minutes, this saw blade safety checklist prevents 90% of common saw injuries. Let’s make “blade check” as automatic as putting on safety glasses.
Your Step-by-Step Saw Blade Safety Checklist
Grab your blade wrench and follow these steps religiously before every single cut. No exceptions.
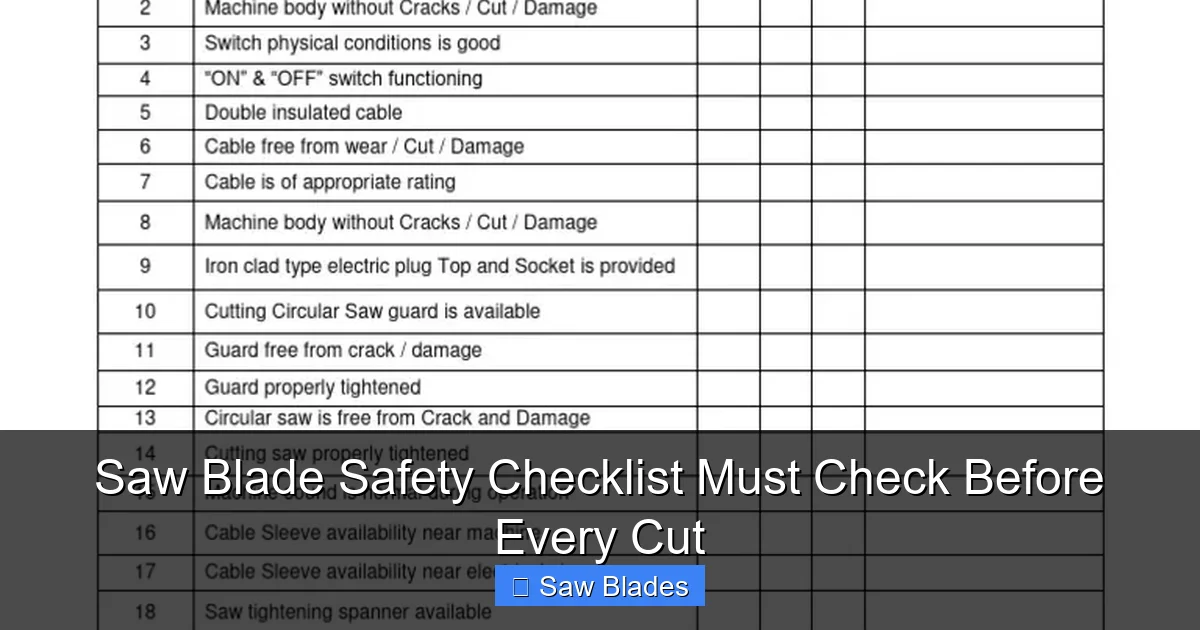
Visual guide about Saw Blade Safety Checklist Must Check Before Every Cut
Image source: imgv2-2-f.scribdassets.com
Step 1: The Visual Inspection (30 Seconds)
This is your first line of defense. Never assume a blade is fine because it “looked okay last week.”
- Check for cracks: Run your finger lightly along the blade’s edge (unplugged!). Feel for hairline fractures, especially near the center hole. Cracks spread fast under stress.
- Count the teeth: Missing or broken teeth? Don’t ignore them. A single missing tooth throws off balance, causing vibration and potential kickback. Example: That 60-tooth finish blade with one chipped tooth? It’s now a hazard.
- Look for warping: Place the blade flat on a table. Does it rock? Warped blades cut crooked and bind, increasing kickback risk. If it wobbles, retire it.
- Inspect the arbor hole: Is it clean? Burrs or debris prevent a snug fit. Wipe it with a dry cloth. A loose fit = dangerous wobble.
Pro Tip: Keep a bright LED work light nearby. Shadows hide cracks. If you spot damage, replace the blade immediately. Don’t “get one more cut” out of it.
Step 2: Verify Secure Mounting (45 Seconds)
A blade that isn’t locked down tight is a ticking time bomb. This step is non-negotiable.
- Check arbor nut tightness: After installing the blade, hand-tighten the arbor nut, then give it a firm quarter-turn with the wrench. It should feel solid, not “snug.” Loose nuts back off during cuts.
- Confirm blade alignment: Look straight down at the blade from above. Does it sit perfectly parallel to the table saw’s fence or miter slot? Misalignment causes binding. Adjust if needed.
- Test for wobble: Gently wiggle the blade side-to-side (unplugged!). Zero movement is ideal. Any play means the arbor or nut is worn – stop using the saw.
Real Talk: If you’re changing blades often (like switching from rip to crosscut), double-check mounting every time. Fatigue makes us rush this step. Need a refresher on blade changes? See our guide on how to change a circular saw blade safely.
Step 3: Match Blade to Material (20 Seconds)
Using the wrong blade isn’t just inefficient – it’s dangerous. Heat builds up fast, warping blades or causing them to shatter.
- Wood cuts: Use carbide-tipped blades with 24-80 teeth for general wood. Fine finishes need 80+ teeth. Avoid metal-cutting blades on wood – they overheat.
- Metal cuts: Diamond or abrasive blades only! Wood blades on metal melt teeth instantly. Example: Cutting aluminum with a wood blade creates molten metal shards.
- Specialty materials: Plexiglass? Use a triple-chip blade. Tile? Diamond blade only. When in doubt, check the blade’s packaging – it lists approved materials.
Warning: If smoke or a burning smell appears during a cut, STOP. You’re likely using the wrong blade or pushing too hard. Let the blade cool before inspecting.
Step 4: Test Safety Guards & Riving Knife (30 Seconds)
These parts save lives by preventing contact with the blade and reducing kickback. If they’re broken, your saw is unsafe.
- Check blade guard movement: Lift the guard manually. It should lift smoothly and retract fully when cutting. Stuck guards? Clean debris or replace springs.
- Verify riving knife alignment: The riving knife (the vertical piece behind the blade) must be perfectly aligned with the blade’s center. Misalignment causes binding. Adjust per your saw’s manual.
- Test anti-kickback pawls: These little “claws” should pivot freely and drop down when not cutting. If they’re stuck up, they won’t prevent kickback.
Critical: Never remove safety guards “for better visibility.” If a guard obstructs your cut, use a zero-clearance insert instead. Your fingers aren’t worth the risk.
Step 5: The Pre-Cut Test (15 Seconds)
Before cutting your workpiece, do this quick test:
- Power on the saw (with guards down).
- Listen for unusual noises: Grinding, screeching, or excessive vibration means STOP.
- Check for smoke: If you see smoke from the blade area, turn off immediately.
- Feel for heat: After 10 seconds of running (unloaded), the blade should be warm – not hot. Extreme heat indicates friction from misalignment.
Remember: If anything feels “off,” don’t cut. Investigate first. That 15-second test could prevent a catastrophic failure.
Troubleshooting Common Blade Safety Issues
Even with checks, problems happen. Here’s how to respond:
Visual guide about Saw Blade Safety Checklist Must Check Before Every Cut
Image source: brightstuffs.com
Problem: Blade Wobbles During Cut
Cause: Loose arbor nut, warped blade, or worn arbor.
Fix: Power off, unplug, and re-tighten the arbor nut. If wobble persists, inspect the blade for warping. If the arbor itself is damaged (rare), contact the manufacturer. Never run a wobbling blade.
Problem: Burning Smell or Smoke
Cause: Wrong blade for material, dull blade, or excessive feed rate.
Fix: Stop cutting immediately. Let the blade cool. Verify blade type matches material. If the blade is dull, replace it. For wood, slow your feed rate – let the blade cut, don’t force it. Learn how to spot a dull blade in our guide on detecting dull diamond blades – the signs apply to most blades.
Problem: Kickback Occurs
Cause: Misaligned riving knife, missing anti-kickback pawls, or cutting warped wood.
Fix: Always use a push stick for small pieces. Ensure the riving knife is aligned and functional. Check pawls move freely. Avoid cutting twisted or wet lumber. If kickback happens, turn off the saw and inspect all safety components.
Problem: Blade Teeth Look Dull or Chipped
Cause: Hitting nails, cutting abrasive materials, or normal wear.
Fix: Replace the blade. Don’t try to sharpen most circular saw blades – it’s unsafe and ineffective. For band saws, see our band saw blade sharpening guide, but circular saw blades are disposable.
Blade Storage: The Overlooked Safety Step
How you store blades affects their safety and lifespan:
Visual guide about Saw Blade Safety Checklist Must Check Before Every Cut
Image source: d20ohkaloyme4g.cloudfront.net
- Never stack blades: Teeth chip if they rub together. Use blade guards or hang them on a pegboard.
- Keep them dry: Moisture causes rust, which weakens the blade. Store in a climate-controlled area.
- Separate by type: Store metal-cutting blades away from wood blades to avoid cross-contamination of debris.
Pro Tip: Label blades with their purpose (e.g., “24T Rip,” “Diamond Tile”). Saves time and prevents wrong-blade use.
Conclusion: Make This Checklist Your New Habit
That’s it – your saw blade safety checklist in under 2 minutes. It’s not about perfection; it’s about consistency. Every time you skip a step, you gamble with your safety. Remember: A cracked tooth doesn’t warn you. A loose nut doesn’t send an email. But you can prevent disaster with these simple checks. Keep this guide bookmarked. Tape a shortened version to your saw. Make “blade check” as automatic as breathing. Your future self – and your fingers – will thank you. Now go make those cuts safely!
🎥 Related Video: Cutting tools 🔥#cnc #millingcutter
📺 GaugeHow Shorts
Milling ⚙️ #milling #gaugehow #metalwork #metalcraft #machine #toolmaking #millingmachine #cnc #mechanical …
