
A cordless drill is a portable, battery-powered tool that drives screws and drills holes. It frees you from power outlets, making it essential for everything from simple home repairs to complex construction. This guide will explain its parts, how it works, and how to pick the perfect one for your needs.
Key Takeaways
- Freedom and Portability: The core benefit of a cordless drill is its ability to work anywhere without being tethered to a wall outlet, enabling work in tight spaces, on ladders, or at remote job sites.
- Voltage Equals Power & Capacity: Battery voltage (12V, 18V/20V) is the primary indicator of a drill’s potential power and ability to handle tougher materials. Higher voltage generally means more torque and longer runtime for demanding tasks.
- The Chuck is Crucial: The chuck is the clamp that holds the drill bit. A keyless chuck allows for quick, tool-free bit changes, while a keyed chuck offers a more secure grip for heavy-duty use.
- Two-Speed Gearbox for Versatility: Most drills feature a two-speed gearbox. Low speed (high torque) is for driving screws and drilling large holes. High speed (lower torque) is for drilling small holes quickly.
- Clutch Settings Prevent Damage: The adjustable clutch stops the drill from turning once a certain resistance is met. This prevents over-driving screws, stripping materials, and damaging the drill or your wrist.
- Battery Technology Matters: Lithium-ion (Li-ion) batteries are the standard, offering long life, no memory effect, and consistent power. Pay attention to Amp-hour (Ah) ratings for longer runtime between charges.
Your Complete Guide to Cordless Drills Explained
Welcome to the ultimate guide on the most fundamental tool in modern DIY and professional work: the cordless drill. If you’ve ever put together furniture, hung a picture, or built a deck, you know this tool is a game-changer. But what exactly is a cordless drill? How does it work? And with so many options, how do you choose the right one?
This guide will answer all those questions and more. We’ll break down the cordless drill into simple parts, explain how to use it safely and effectively, and help you understand the specs so you can buy with confidence. By the end, you’ll not only know what a cordless drill is—you’ll know exactly how to make it your most trusted tool.
What Is a Cordless Drill? The Basics
A cordless drill is a handheld power tool that uses a rechargeable battery to spin a drill bit or driver bit. Its primary jobs are to drill holes and drive screws into various materials like wood, metal, plastic, and even masonry. The “cordless” part is its superpower. It gives you complete freedom of movement. No more searching for extension cords or being limited to areas near an outlet. You can use it in your attic, up on a roof, or in the middle of your backyard.
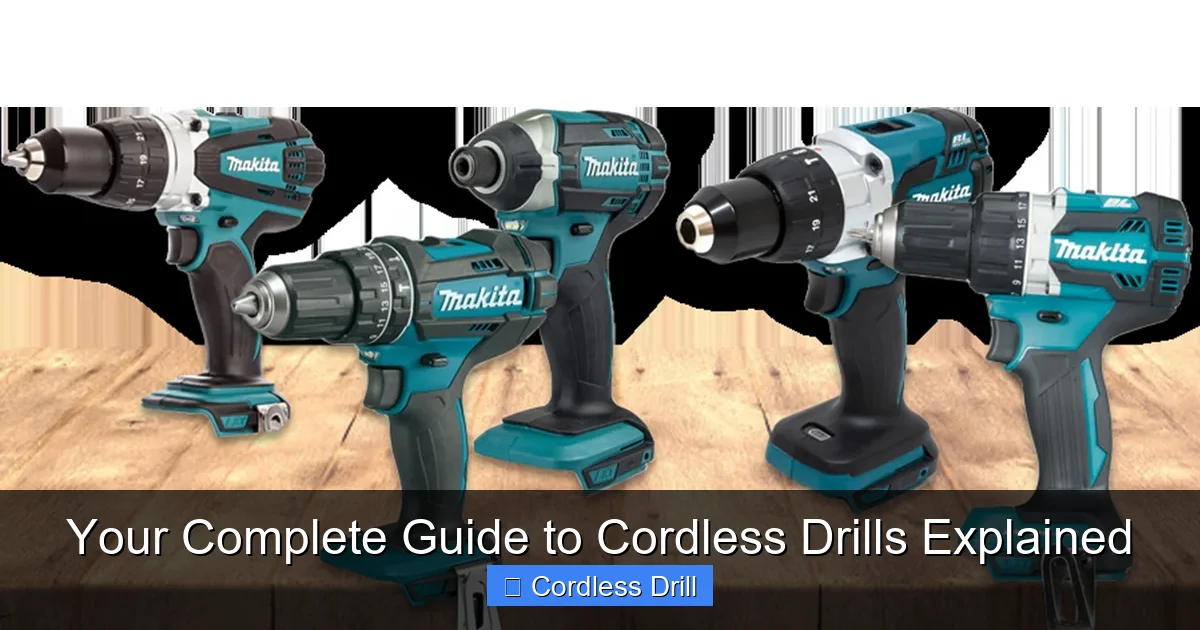
Visual guide about Your Complete Guide to Cordless Drills Explained
Image source: blog.toolden.co.uk
Think of it as the electric screwdriver’s bigger, stronger, and far more capable sibling. It’s the first power tool most people buy, and for good reason. It’s incredibly versatile and opens the door to countless projects.
The Core Components: Getting to Know Your Drill
Let’s look at the main parts of a standard cordless drill. Knowing these will help you understand how it works and what to look for.
- Motor: The heart of the drill. It’s housed in the main body and converts the battery’s electrical energy into the spinning force (torque) that drives the chuck.
- Battery: The power source. It slides into the bottom or handle of the drill. Modern drills almost exclusively use Lithium-ion (Li-ion) batteries, known for their long life and consistent power output.
- Chuck: The three-jawed clamp at the front of the drill that holds the drill bit or screwdriver bit. Most modern drills have a keyless chuck, which you tighten and loosen by hand.
- Trigger & Speed Control: The trigger isn’t just an on/off switch. Press it lightly for a slow spin; press it all the way for full speed. This gives you precise control.
- Forward/Reverse Switch: A small slider, usually located above the trigger. It controls the direction the chuck spins—forward for driving/drilling, reverse for removing screws or backing out a drill bit.
- Gear Selector/Shift: A switch (often a dial or slider) that chooses between gear settings (typically 1 and 2). Gear 1 is low speed with high torque for driving screws or drilling large holes. Gear 2 is high speed with lower torque for drilling small holes quickly.
- Adjustable Torque Clutch: A numbered ring located just behind the chuck. This brilliant feature allows you to set how much twisting force the drill applies before it disengages (makes a clicking sound). This prevents you from over-tightening screws or damaging materials.
How Does a Cordless Drill Work?
The process is elegant in its simplicity. You press the trigger, which sends power from the battery to the motor. The motor spins a small gear. This gear turns a larger gear (this is the gearbox), which increases the torque. That rotational force is then transferred to the chuck, which spins whatever bit you’ve locked into it. The forward/reverse switch changes the electrical flow to the motor, making it spin the opposite way. The clutch mechanism physically disconnects the motor from the chuck when the preset torque level is reached.
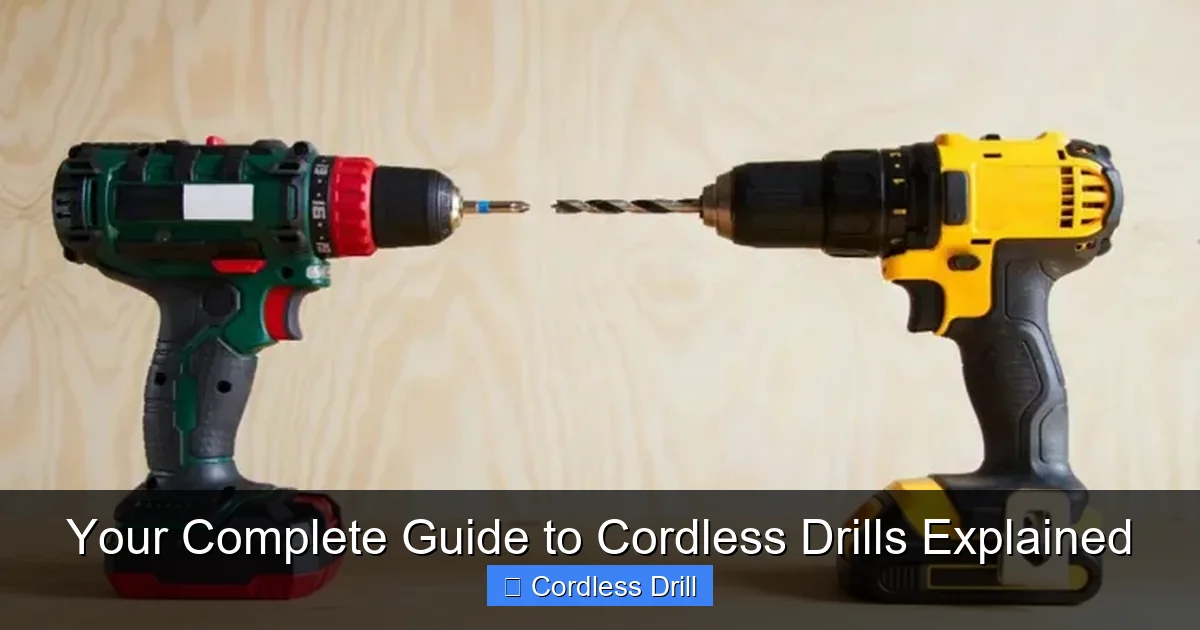
Visual guide about Your Complete Guide to Cordless Drills Explained
Image source: toolsadvisers.com
Types of Cordless Drills
Not all cordless drills are the same. Here are the main types you’ll encounter.

Visual guide about Your Complete Guide to Cordless Drills Explained
Image source: ourhometools.com
1. Standard Drill/Driver
This is the classic, all-purpose cordless drill. It has all the features we’ve discussed: variable speed, a clutch, and a two-speed gearbox. It’s perfect for 90% of common tasks like assembling furniture, hanging shelves, drilling pilot holes, and general repair work. It’s the best choice for most homeowners and DIYers.
2. Hammer Drill
A hammer drill has a special “hammer” function. In addition to spinning, the chuck pulses forward and backward rapidly. This hammering action helps to break through tough materials like concrete, brick, stone, and masonry. You use special masonry bits with it. If you need to install anchors in a concrete wall or drill into a brick fireplace, you need a hammer drill. It’s important to understand that a hammer drill is different from an impact driver and hammer drill, which are distinct tools for different high-torque applications.
3. Impact Driver
While often confused with a drill, an impact driver is a specialist. It’s designed for one thing: driving screws and bolts with incredible force. Instead of just constant rotational torque, it delivers sudden, concussive “impacts” (hundreds per minute) to the shaft. This allows it to drive very long screws or lag bolts without straining your wrist. It uses hex-shank bits, not round ones. For a deck building project, you’d use a standard drill to drill pilot holes and an impact driver to sink the deck screws.
4. Right-Angle Drill
This drill has its head turned at a 90-degree angle to the body. Its sole purpose is to get into incredibly tight spaces where a standard drill can’t fit, like between joists, studs, or in plumbing and electrical boxes.
How to Choose the Right Cordless Drill
With so many choices, here’s a step-by-step guide to picking your perfect match.
Step 1: Assess Your Needs (DIY vs. Pro)
Be honest about what you’ll use it for.
Light DIY/Homeowner: Putting together furniture, hanging curtains, occasional small projects. A 12V drill/driver is often more than enough. It’s lighter, cheaper, and easier to handle.
Serious DIYer/Regular User: Building a shed, deck, or doing frequent renovations. An 18V/20V Max drill/driver is your sweet spot. It offers the best balance of power, runtime, and versatility.
Professional/Tradesperson: Daily, demanding use on a job site. Look for heavy-duty 18V/20V Max or higher voltage models from professional brands. Durability and battery performance are critical.
Step 2: Understand Key Specifications
- Voltage (V): Indicates the battery’s power potential. 12V is for light duty. 18V/20V Max is the industry standard for all-around power. Higher voltage (like 36V/40V) is for the most demanding tasks.
- Battery Amp-Hour (Ah): Think of this as the fuel tank size. A 2.0Ah battery will run out before a 5.0Ah battery. For longer work sessions without recharging, choose a higher Ah rating.
- Torque (in-lbs or Nm): The twisting force. More torque means it can drive bigger screws and drill larger holes in tougher material. Look for at least 300-400 in-lbs for general use.
- Chuck Size: The maximum diameter bit shank it can hold. 3/8-inch is common for 12V/compact models. 1/2-inch is standard for full-size drills and offers the widest bit compatibility.
For a deep dive into top-performing models, check out our guide on the best cordless drill options available.
Step 3: Consider the Brand & Battery Ecosystem
This is a big one. Most brands design their batteries to work across many tools. If you buy a DeWalt 20V Max drill, its batteries will also fit a DeWalt 20V circular saw, leaf blower, or reciprocating saw. Think about future tools you might want and consider sticking with one brand to share batteries and chargers.
How to Use a Cordless Drill: A Step-by-Step Guide
Step 1: Inserting and Tightening a Bit
Open the chuck by turning it counter-clockwise by hand. Insert the bit shank as far into the chuck as it will go. Hold the bit steady and turn the chuck clockwise until it’s hand-tight. For a final secure grip, you can hold the chuck collar (if your drill has one) and give it one more firm turn by hand. Never use pliers.
Step 2: Setting the Clutch
Start with a mid-range setting (like 10-15). Try driving a screw. If the clutch disengages (clicks) before the screw is fully seated, increase the number. If you over-drive and strip the hole, lower the number. For drilling holes (not driving screws), set the clutch to the drill bit icon. This bypasses the clutch and uses the drill’s maximum torque.
Step 3: Selecting Speed and Direction
Use Gear 1 (low speed, high torque) for driving screws and drilling large holes. Use Gear 2 (high speed) for drilling small holes (under 1/4″) in wood or metal. Ensure the forward/reverse switch is set to forward (usually indicated by an arrow pointing towards the chuck) for drilling and driving.
Step 4: Drilling a Pilot Hole
This is a crucial technique. For wood, especially near the end of a board, always drill a pilot hole slightly smaller than your screw’s core diameter. It prevents the wood from splitting and makes driving the screw much easier. Place the bit’s tip on your mark, hold the drill straight, and squeeze the trigger gently to start. Apply steady, firm pressure as you drill.
Step 5: Driving a Screw
Use the correct bit (e.g., Phillips #2, Pozidriv PZ2, Torx T25). Place the bit securely in the screw head. Hold the drill straight in line with the screw. Start slowly to ensure the bit is engaged, then increase speed. Let the drill do the work—don’t lean on it. Stop when the clutch disengages or the screw head is flush.
Essential Safety Tips
- Always wear safety glasses to protect from flying debris.
- Remove the battery when changing bits or when the drill is not in use.
- Do not wear loose clothing or jewelry that could get caught.
- Secure your workpiece with clamps—never hold it with your hand.
- Be aware of what’s behind the material you’re drilling (wires, pipes).
- When working at height, like on a ladder, ensure you follow proper safety guidelines for working with ladders to maintain balance and stability.
Maintenance and Care
Taking care of your drill ensures it lasts for years.
- Battery Care: Store Li-ion batteries in a cool, dry place. They perform best at room temperature. It’s okay to recharge them before they are fully dead. Avoid leaving a depleted battery in the drill for long periods.
- Clean the Vents: Use a dry brush or compressed air to keep the motor vents clear of dust. This prevents overheating.
- Chuck Maintenance: Occasionally open the chuck fully and blow out any dust or debris inside to keep it gripping properly.
Troubleshooting Common Issues
- Drill won’t start: Check if the battery is charged and fully inserted. Ensure the forward/reverse switch isn’t stuck in the middle.
- Battery drains quickly: The battery may be old and losing capacity. Check that you’re using the correct charger. Extreme cold can temporarily reduce performance.
- Bit keeps slipping in the chuck: The chuck is likely not tight enough. Remove the bit, clean the shank and the chuck jaws, and re-tighten firmly by hand. If the chuck itself is worn, it may need replacement.
- Drill struggles or stalls: You may be using the wrong speed setting. Switch to Gear 1 (low speed) for more torque. Ensure you’re using a sharp bit. The material may be too hard for your drill—consider a hammer function or a more powerful tool.
Conclusion: Your Gateway to Empowerment
A cordless drill is more than just a tool; it’s a key that unlocks your ability to build, repair, and create. It turns intimidating projects into manageable tasks. By understanding what it is, how it works, and how to use it safely, you’ve taken the first and most important step in your DIY journey. Start with a model that fits your current needs, respect its power, and maintain it well. That trusty cordless drill will be by your side, helping you bring countless ideas to life for many years to come. Now, go charge that battery—you’ve got projects waiting!
🎥 Related Video: Cordless Drill Basics | Beginner
📺 Training Hands Academy
Today we’re talking about cordless drill basics for the beginner. If you’re new to carpentry or woodworking, the cordless drill will …
